15+ Easy Ways To Do Your Nails At Home (Saving you Thousands)
This site contains affiliate links. I may earn a small commission, at no extra cost to you.
This post is all about How To Do Your Nails At Home.
How to do your nails at home is one of those skills that just makes life easier—and your wallet a lot happier.
Instead of constantly booking salon appointments, you can get the same polished, put-together look right from your own space.
It’s more convenient, way more budget-friendly, and honestly kind of therapeutic once you get into it.
With just a few tools and some simple techniques, you can create nails that look clean, trendy, and totally intentional.
If you’ve been thinking about making the switch, this is your sign to start.
For more tips and tricks, follow us on Instagram: @fromlemonstoluxury
DIY Nail Kit Essentials You Actually Need
If you’re serious about learning how to do your nails at home, having a simple DIY nail kit makes everything easier and way more consistent.
You don’t need a huge collection of tools—just a few reliable essentials that help you prep, apply, and maintain your manicure properly.
Investing in the basics upfront will save you time, effort, and money in the long run.
Once you have these on hand, your at-home nail routine will feel a lot more seamless and honestly more enjoyable.
- Nail clippers for trimming and maintaining length
- Nail file and buffer for shaping and smoothing the nail surface
- Cuticle pusher to gently clean up the nail bed
- Base coat to protect nails and improve polish adhesion
- Nail polish in your go-to shades (start with a few versatile colors)
- Top coat for shine and longer-lasting results
- Nail polish remover for easy cleanup and redo
- Small cleanup brush or cotton swabs for precise edges
- Cuticle oil or hand cream for hydration and nail health
Nail Care Basics You Should Know
Before you fully commit to doing your nails at home, it helps to understand a few key basics that make everything easier and more effective.
These small habits can seriously improve your results and help your manicure last longer without extra effort.
Think of this as your foundation for consistently good nails.
- Always start with clean, dry nails before applying polish
- Avoid shaking your nail polish bottle to prevent bubbles
- Cap the edges of your nails with polish to reduce chipping
- Store your nail products in a cool, dry place
- Don’t rush drying time—this is where most mistakes happen
Start With Proper Nail Prep
Prepping your nails is the foundation of a good manicure, and it’s something you don’t want to rush.
Start by removing any old polish, then trim, file, and shape your nails to your desired length.
Gently push back your cuticles to create a clean nail bed, which instantly makes everything look more polished.
This step also helps your polish go on smoother and last longer.
Skipping prep is usually why DIY nails don’t look as clean, so take your time here.
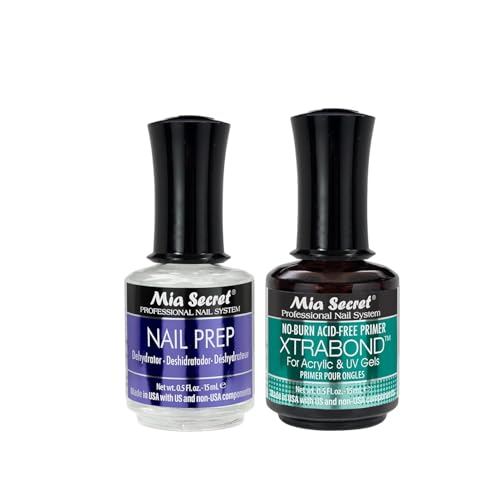
Use a Base Coat (Always)
A base coat might seem optional, but it really makes a difference in how your manicure turns out.
It creates a smooth surface for your polish to stick to and helps prevent staining, especially from darker shades.
Using a base coat also extends the life of your manicure, which means fewer touch-ups throughout the week.
It’s a simple step that adds a lot of value without adding much effort.
Think of it as your manicure’s safety net.
Apply Thin Layers of Polish
When it comes to nail polish, less is more.
Applying thin layers helps your nails dry faster and prevents that thick, uneven look.
It may take an extra coat or two to build up the color, but the result is much smoother and more professional-looking.
Thick coats tend to smudge easily, which can undo all your hard work.
Patience here really pays off.

Seal With a Quality Top Coat
A top coat is what gives your nails that glossy, finished look that feels salon-level.
It also acts as a protective layer to prevent chipping and extend wear time.
Reapplying a thin layer every couple of days can keep your manicure looking fresh longer.
This step is especially helpful if you use your hands a lot throughout the day.
It’s one of the easiest ways to upgrade your DIY nails instantly.
Try the Dotting Technique
The dotting technique is perfect if you’re just getting into nail art.
You don’t need any fancy tools—just a toothpick, bobby pin, or anything with a small, rounded tip.
You can create simple patterns, florals, or accent nails with minimal effort.
It’s a fun way to experiment without feeling overwhelmed.
Even a few dots can make your nails look more styled and intentional.

Create Simple Stripe Designs
Striped nail designs are surprisingly easy but look very put-together.
You can use tape or a thin brush to create clean, straight lines on your nails.
Whether you go for bold contrast or subtle accents, stripes add a modern touch.
It’s a great way to elevate a basic manicure without needing advanced skills.
Plus, you can mix and match colors to fit your style.
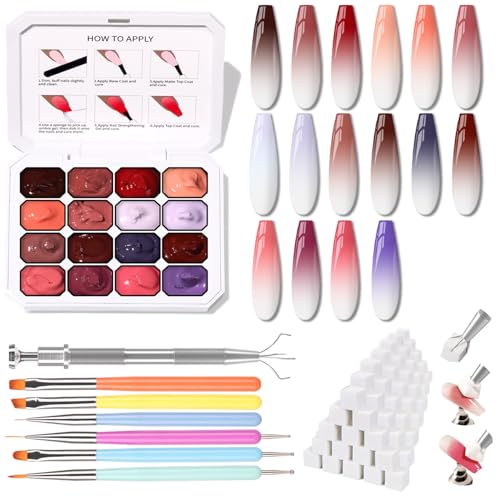
Master the Ombre Effect
Ombre nails give you that soft gradient look that always feels trendy.
All you need is a small makeup sponge to blend two or more colors.
Dab the sponge lightly onto your nails to gradually build the gradient effect.
It might take a little practice, but the results are worth it.
This technique instantly makes your nails look more creative and detailed.
Use Press-On Nails for Instant Glam
Press-on nails are a great option when you want something quick and polished.
They’ve come a long way in terms of quality and design, making them look more natural than ever.
You can apply them in minutes and still get that salon-style finish.
They’re also reusable if you take care of them properly.
It’s an easy solution for busy days or last-minute plans.
Invest in a Nail File and Buffer
A good nail file and buffer are small tools that make a big difference.
Filing helps shape your nails evenly, while buffing smooths out the surface for better polish application.
These tools also help maintain your nails between manicures.
You don’t need anything fancy—just something reliable that gets the job done.
Consistent use will improve the overall look of your nails.

Clean Up Edges With a Brush
Cleaning up the edges of your nails can instantly make your manicure look more professional.
Use a small brush dipped in nail polish remover to tidy up any mistakes around your cuticles.
This step sharpens the overall look and makes everything feel more precise.
It’s a simple detail that people often overlook.
Taking an extra minute here really elevates your results.
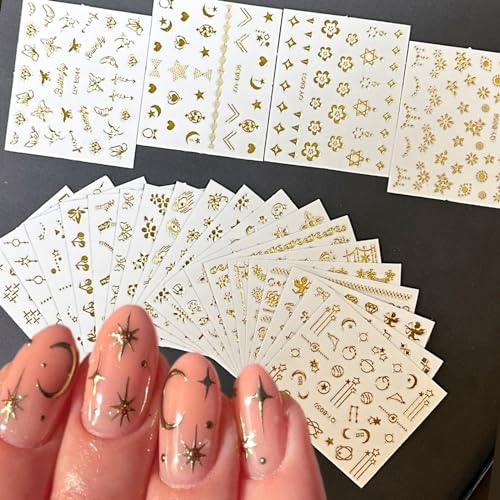
Try Nail Stickers or Decals
Nail stickers and decals are perfect if you want detailed designs without the effort.
They come in so many styles, from minimal to bold, so you can switch things up easily.
Application is quick, and most only require a top coat to seal them in place.
It’s one of the easiest ways to experiment with nail art.
You get a polished look without needing advanced skills.
Go for Neutral Shades
Neutral shades are always a safe and stylish choice.
They go with everything and tend to chip less noticeably, which is great for longer wear.
If you’re busy or prefer a low-maintenance look, neutrals are definitely a staple.
They also give off that clean, effortless vibe.
It’s an easy way to look put together without overthinking it.
Use Quick-Dry Drops or Spray
Drying time can be one of the most frustrating parts of doing your nails.
Quick-dry drops or sprays help speed up the process and reduce the risk of smudging.
They’re especially helpful if you’re doing your nails before heading out.
This small addition can make your self-care routine feel much more efficient.
It’s a simple upgrade that saves time and effort.

Moisturize Your Cuticles Daily
Healthy cuticles make a big difference in how your nails look overall.
Using cuticle oil or hand cream daily keeps your nails hydrated and smooth.
It also helps prevent dryness and peeling, which can ruin a manicure.
This habit supports long-term nail health, not just short-term results.
Think of it as part of your regular self-care routine.
Give Your Nails a Break
Taking breaks between manicures is important for maintaining strong nails.
Constant polish or press-ons can weaken your natural nails over time.
Letting them breathe helps restore their strength and flexibility.
During this time, focus on hydration and care.
It’s all about balance for long-term results.

Learning how to do your nails at home is one of those small changes that can make a big impact over time.
Not only do you save money, but you also gain the freedom to do your nails whenever it fits your schedule.
With the right tools, a little patience, and some practice, you can achieve results that look just as good as those from the salon.
It’s all about building a routine that works for you and sticking with it.
Once you do, you’ll wonder why you didn’t start sooner.
FAQ: Doing Your Nails At Home
How much money can you actually save doing your nails at home?
A typical salon visit can cost anywhere from $20 to $80 or more, depending on the style. If you go regularly, that adds up fast. Doing your nails at home can easily save you hundreds to thousands per year.
What are the basic tools I need to get started?
You only need a few essentials: nail clippers, a file, a buffer, a base coat, nail polish, and a top coat. Everything else is optional and can be added over time.
How do I make my manicure last longer?
Prep your nails properly, use thin layers, and always seal with a top coat. Avoid using your nails as tools, and reapply top coat every few days.
Are DIY nails as good as salon nails?
Yes, once you get the technique down. With practice and the right products, your at-home manicure can look just as clean and polished.
What’s the easiest nail design for beginners?
Dot designs and simple stripes are the easiest to start with. They require minimal tools and still look stylish and put together.
This post was all about How To Do Your Nails At Home.
If you love this post, you may also love: