Easy 10 Minute Kimchi Fried Rice Recipe
This site contains affiliate links. I may earn a small commission, at no extra cost to you.
Let me tell you, this recipe for kimchi fried rice is honestly amazing and truly as simple as it sounds. If you’re anything like me, you know that a quick, satisfying meal can make a day better, especially when it’s full of flavor without a ton of prep. Whether you’re coming home from work, trying to whip up something for yourself at lunch, or even needing a midnight snack, this recipe will save you. Let’s dive into the details to make the best 10-minute kimchi fried rice, because, honestly, it’s that good.
Why Kimchi Fried Rice?
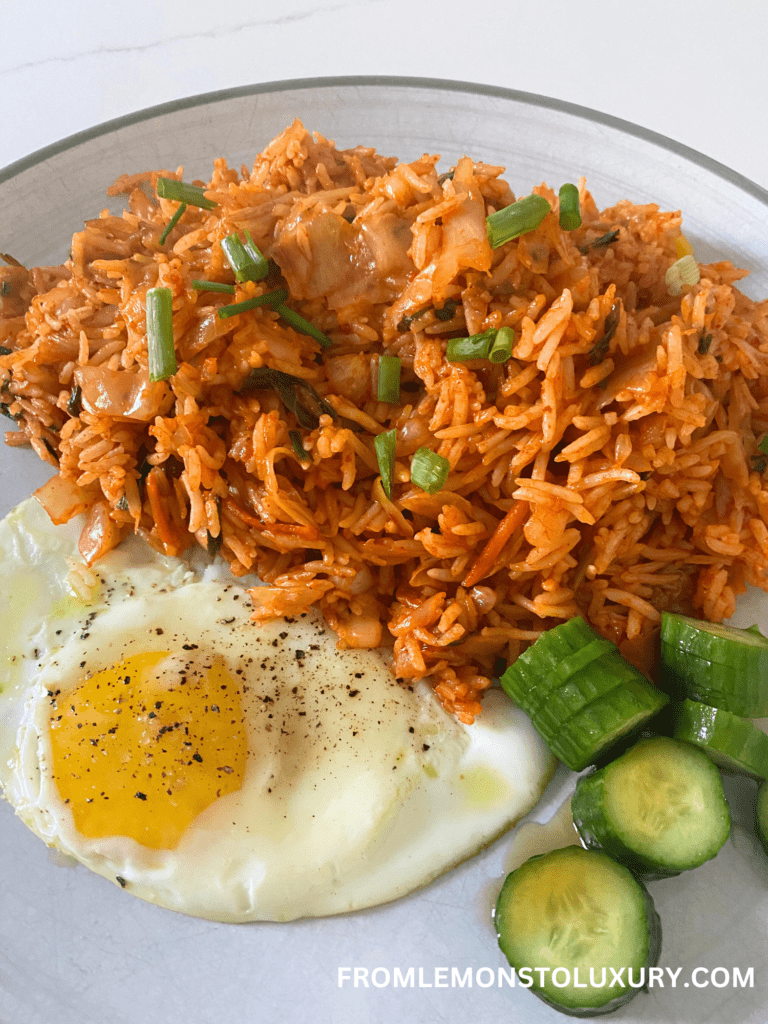
Kimchi fried rice (or “kimchi bokkeumbap”) has become a fan-favorite comfort food, not only for its taste but for how easy it is to customize. It’s naturally packed with flavor from the kimchi and gochujang, so it doesn’t need a lot of extras. What I love most is the simplicity and how you can adjust ingredients to fit what you have at home.
@fromlemonstoluxury The easiest foolproof Kimchi Fried Rice! Visit the link in my bio for the full recipe ✨🫶 #kimchirecipe #kimchifriedrice #kimchirecipe #kimchifriedricewithegg #friedricerecipe #10minuterecipe #quickdinnerideas #quickdinner #quickeecipes #fastrecipe #beginnerrecipe #beginnerfriendly ♬ original sound – fromlemonstoluxury
Ingredients You’ll Need
One of the best parts about this recipe is that it uses ingredients you might already have on hand, making it super accessible. Here’s what you’ll need:
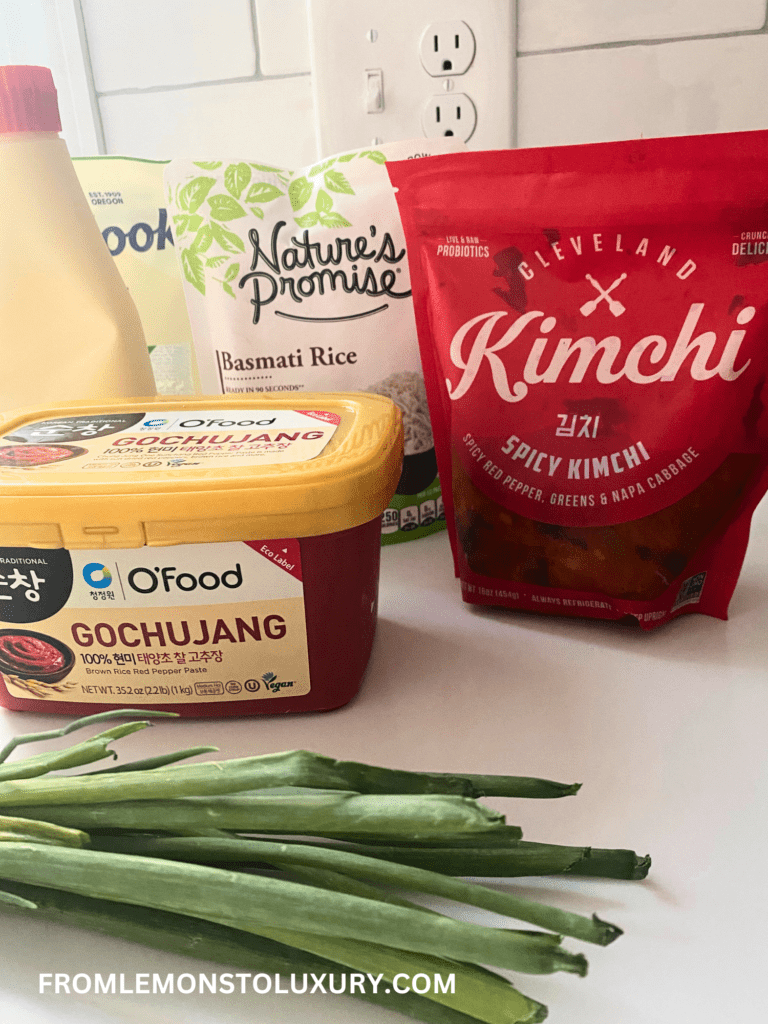
- Kimchi: The star of the show. It brings that signature tangy, spicy flavor. I go with about 5 spoonfuls, but you can adjust depending on how intense you want the flavor.
- Rice: I use microwavable 90-second basmati rice because, let’s be real, anything that cuts down on cooking time is a win.
- Green Onion: Use both the white and green parts. The white part gives a nice aromatic base, while the green part adds a fresh pop when you’re ready to plate.
- Egg (optional): I love adding a fried egg on top. It’s totally optional but brings a creamy richness that pairs well with the spicy, tangy kimchi.
- Oil: Olive oil works beautifully here, though vegetable oil is fine if that’s what you’ve got.
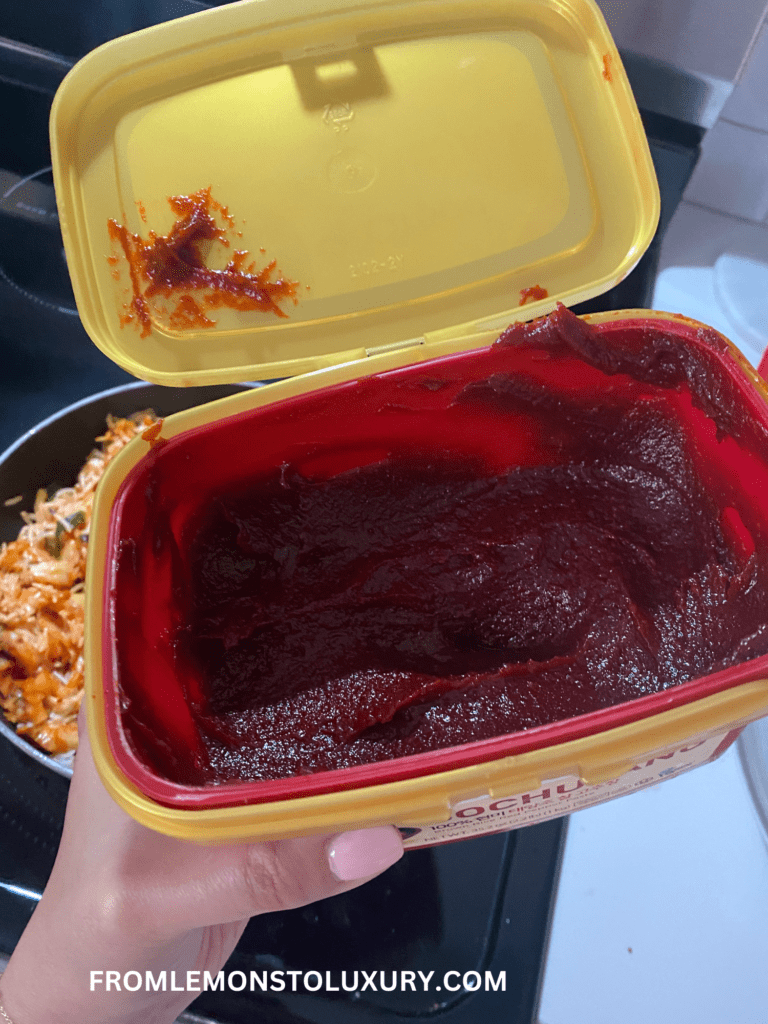
- Gochujang: Just a spoonful is all you need. This fermented Korean chili paste brings a touch of heat and depth that makes the dish taste like you’ve spent way more than 10 minutes on it.
- Sesame Seed Oil: A drizzle at the end for that nutty, aromatic finish.
Step-by-Step: Putting It All Together
This recipe only takes a few simple steps, so it’s great for those days when you don’t feel like spending a lot of time in the kitchen. Here’s how I make it.
Step 1: Fry Your Egg
Start by heating up a bit of oil in a pan. I usually go with olive oil because it has a nice, mild flavor, but feel free to use vegetable oil if that’s what you have. Once the oil is hot, crack in your egg and let it cook to your desired level of doneness. If you’re into the runny yolk situation, just cook until the whites are set. Once it’s done, set it aside on a plate.
Step 2: Sauté the Green Onion
In the same pan with the leftover oil from the egg, toss in the chopped white parts of the green onion. This will infuse a subtle oniony flavor into the oil, and it smells honestly amazing. Sauté for about 30 seconds until the green onion softens and releases its aroma.
Step 3: Add the Rice and Gochujang
Microwave your rice according to the instructions – usually, 90 seconds is all it takes. Then, add the rice directly to the pan with the green onions. Spoon in the gochujang, and stir it into the rice until everything is well mixed. This is where the rice starts picking up that gorgeous red color and a hint of spice.

Step 4: Add Kimchi and Kimchi Juice
Add about five spoonfuls of kimchi, and pour in a bit of the kimchi juice for an extra punch. If you’re a big kimchi lover, feel free to add more. The juice adds a touch of acidity that makes each bite a little addictive. Stir everything together for another minute, letting the flavors meld and the rice soak up all the goodness.
Step 5: Drizzle with Sesame Oil
Just before you’re ready to plate, drizzle a little sesame oil over the rice. It’s such a simple step, but it makes a huge difference by adding that rich, nutty aroma.
Step 6: Plate and Top with Egg and Green Onions
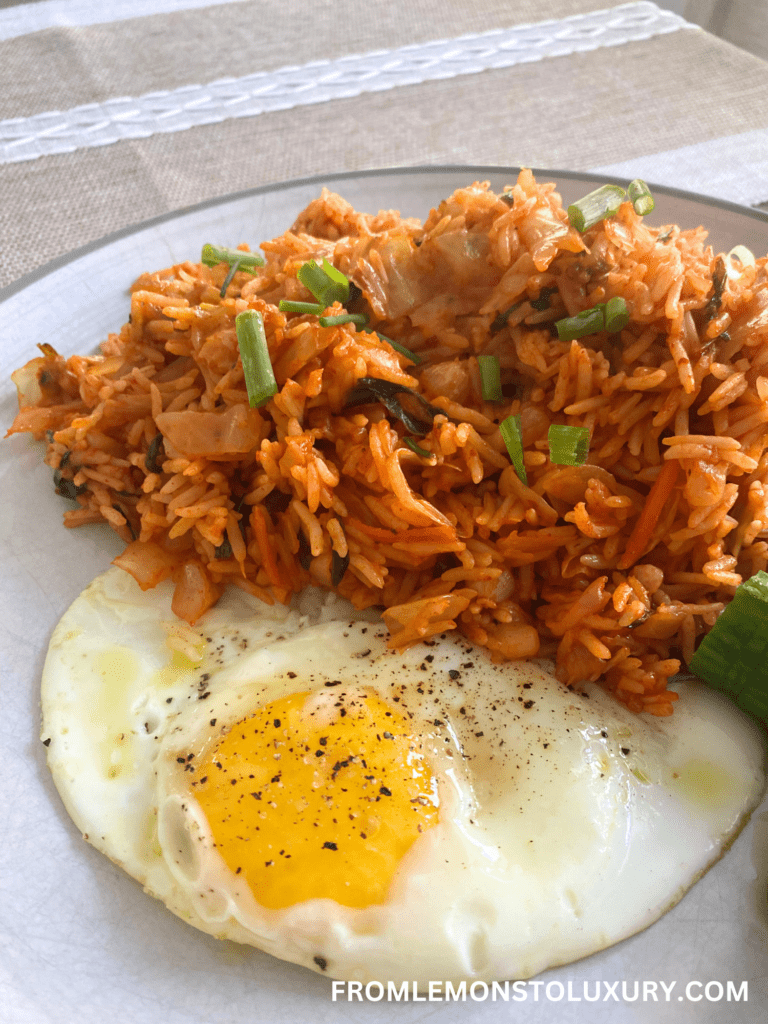
Transfer your rice to a plate, top with the fried egg you set aside, and sprinkle some of the fresh green parts of the green onion on top for color and freshness. The contrast of the creamy egg with the spicy-sour kimchi rice is, honestly, so good.
Tips to Make It Your Own
- Adjusting Spice Levels: If you’re sensitive to spice, start with half a spoon of gochujang and taste as you go.
- Add-Ons: This dish is super versatile, so don’t hesitate to add extra vegetables like mushrooms, carrots, or bell peppers if you want.
- Protein Options: Try adding tofu, shrimp, or even leftover chicken for a heartier meal.
- Storage and Leftovers: If you’re meal-prepping, make a batch and store it in the fridge. Just wait to add the egg and green onion until you’re ready to eat.
Why You’ll Love This Recipe
Honestly, this kimchi fried rice recipe is a total lifesaver. Not only is it packed with flavors that feel like they came from a restaurant, but it’s also an absolute breeze to make. You don’t need fancy equipment or hard-to-find ingredients, and the whole thing comes together in just 10 minutes.
So, whether you’re a kimchi newbie or a long-time fan, this recipe is bound to impress. Give it a try and let me know what you think – I’d love to hear about your own spin on it!

