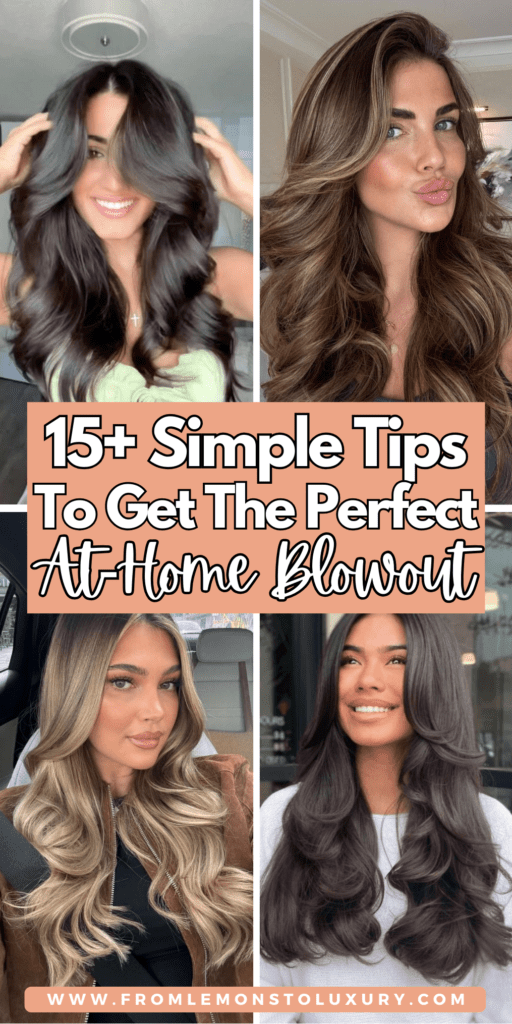
15+ Essential Tips On How To Get The Perfect At Home Blowout
This site contains affiliate links. I may earn a small commission, at no extra cost to you.
This post is all about How To Get The Perfect At-Home Blowout.
How to get the perfect at-home blowout doesn’t have to feel intimidating or time-consuming—and it definitely doesn’t require a professional license.
With the right tools, smart prep, and a few stylist-approved techniques, you can create smooth, voluminous hair that looks polished and intentional.
Whether you’re getting ready for work, a weekend event, or just want your hair to look put-together all week, mastering an at-home blowout is a total game-changer.
The best part?
Once you learn the basics, you can adjust your routine for a simple blowout, a quick blowout hair moment, or even low-damage styling days.
This guide walks you through exactly what to do so you can feel confident styling your own DIY blowout hair at home.
For more tips and tricks, follow us on Instagram: @fromlemonstoluxury
Why an At-Home Blowout Is Worth Learning
Learning how to blow out your hair properly saves time, money, and last-minute panic before events or workdays.
A well-done blowout can last several days, especially if you know how to maintain it overnight and refresh it quickly.
It’s also way more customizable than a salon service—you control the volume, shape, and finish based on your personal style.
Plus, once you nail the technique, you can switch between types of blowouts, from sleek and straight to bouncy and full.
Whether you want a simple blowout for everyday wear or a more polished look for meetings and weekends, these tips help you build confidence with your tools and routine.
A successful blowout comes down to a few core principles that professionals rely on every day:
- Using the right hair tools and brushes for your hair type
- Applying lightweight products that enhance volume and smoothness
- Drying hair in the correct order to reduce frizz and breakage
- Controlling airflow direction and brush tension
- Locking in the style so it lasts beyond day one
Once you understand these basics, switching between different types of blowouts—or even trying a blowout without heat—becomes much easier and way less intimidating.
Start With Clean, Lightweight Hair
A great blowout always starts in the shower.
Heavy conditioners or product buildup can weigh hair down and kill volume before you even plug in the dryer.
Focus conditioner on the mid-lengths and ends, not the roots, so your hair stays light and bouncy.
If volume is your goal, consider a volumizing or smoothing shampoo based on your hair type.
Clean hair gives you a better foundation for a quick blowout hair routine that actually holds.
Don’t Skip the Towel-Dry Step
Rough towel drying causes frizz before styling even begins.
Instead of rubbing, gently squeeze excess water out using a microfiber towel or cotton t-shirt.
This keeps the cuticle smoother and makes styling easier later.
Your hair should be damp, not dripping, before you blow-dry.
Starting with less water means less heat exposure and a faster easy blowout at home.

Always Use Heat Protection
This step is non-negotiable if you want healthy hair long-term.
Heat protectant helps prevent dryness, breakage, and dullness while also improving smoothness.
Spray or cream formulas both work—just apply evenly from roots to ends.
Even if you’re planning a blowout without heat later in the week, protecting your hair now helps maintain softness and shine.
Use the Right Styling Products (Less Is More)
You don’t need five products to get a good blowout.
A lightweight volumizer at the roots and a smoothing cream on the ends are usually enough.
Too much product can make hair greasy or stiff.
The goal is movement, not crunch.
Keeping it minimal also makes your blowout easier to refresh the next day.

Rough Dry First to Save Time
Before grabbing your brush, rough-dry your hair until it’s about 70–80% dry.
Use your fingers and focus on lifting at the roots.
This cuts styling time in half and makes the final blowout smoother.
This step is especially helpful if you’re short on time and want a quick blowout hair routine that still looks intentional.
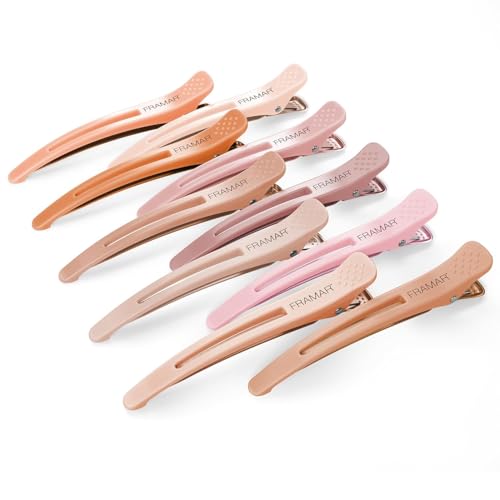
Section Your Hair Like a Pro
Sectioning is what separates a flat blowout from a polished one.
Divide hair into at least four sections—two in the front, two in the back.
Thick or long hair may need more.
Smaller sections mean better tension, smoother results, and less frizz overall.
Yes, it takes a minute longer, but it’s worth it.
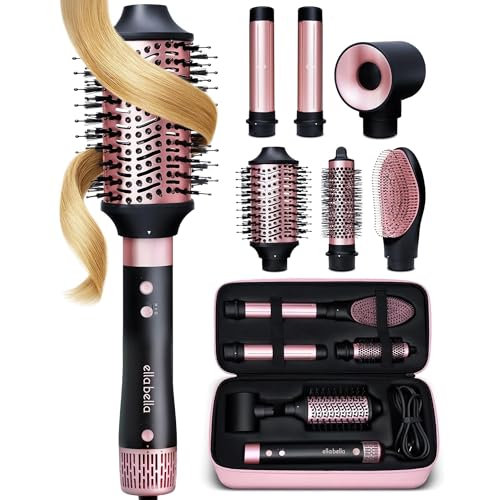
Choose the Right Brush for Your Hair Goals
Round brushes create volume and shape, while paddle brushes are better for sleek, straight finishes.
Medium-sized round brushes are the most versatile and beginner-friendly.
If you want bounce without curls, stick to a round brush with mixed bristles.
This gives you that soft, professional finish without overdoing it.
Control Airflow Direction
Always point the dryer downward, following the brush.
This smooths the cuticle and creates shine.
Blasting air upward is a fast way to get frizz.
Attach a concentrator nozzle if you have one—it helps focus airflow and gives you better control for a true salon-style finish.

Master Tension (This Is the Secret)
Tension is everything in a blowout.
Pull the brush taut while drying each section, especially at the roots.
This is what creates smoothness and long-lasting shape.
If your blowout never lasts, chances are you’re not using enough tension during styling.
Lift at the Roots for Lasting Volume
For volume, pull sections straight up from the scalp and dry at the roots first.
Hold for a few seconds before moving down the hair shaft.
This technique helps your blowout hold its shape longer, even without heavy products.
This will keep your style from falling flat halfway through the day and make your blowout look fuller from every angle.
Finish Each Section With Cool Air
Once a section is dry, hit it with cool air to lock in shape.
This sets the style and adds shine while reducing frizz.
It’s a small step, but it makes a noticeable difference in how long your blowout lasts.
It’s one of those small pro habits that seriously improve how long your blowout holds up.
Try How To Do A Blow Out With A Straightener (Optional)
If you don’t love using a round brush, you can finish your blowout with a straightener.
Lightly curve the iron at the ends for a smooth, polished look.
This method works great for touch-ups or refining face-framing pieces without redoing your entire blowout.
Especially helpful for refining face-framing pieces or creating a sleeker finish without starting over.

Overnight Blowout Hair Maintenance Matters
To make your blowout last, wrap your hair loosely or use a silk scarf or pillowcase.
A low, loose bun at the crown can help preserve volume overnight.
This overnight blowout hair trick saves serious time in the morning and keeps hair smooth.
Protecting your style while you sleep makes morning touch-ups faster and keeps hair looking intentional, not rushed.
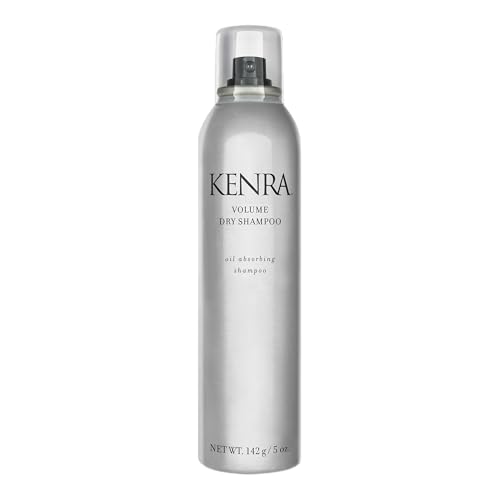
Refresh Instead of Rewashing
Dry shampoo at the roots and a quick blast of heat can revive your blowout without starting from scratch.
Focus on volume at the crown and smooth the ends with a brush.
This keeps your style looking fresh for days, especially during busy workweeks.
This refresh method is perfect for busy mornings when you want your hair to look clean and styled with minimal effort.
Experiment With Different Types Of Blowouts
Not all blowouts look the same.
Sleek, bouncy, beachy, or soft-volume styles all require slightly different techniques and brushes.
Trying different types of blowouts helps you figure out what works best for your hair texture and lifestyle.
Playing around with different finishes helps you find the blowout style that fits your lifestyle and personal aesthetic best.
Getting the perfect blowout at home is less about talent and more about technique.
When you prep properly, use smart sectioning, and control airflow and tension, your results instantly level up.
Over time, your routine becomes faster, smoother, and way more consistent—making an easy blowout at home feel completely achievable.
Whether you’re maintaining overnight blowout hair, learning how to do a blowout with a straightener, or just aiming for a polished everyday look, these tips help you build a routine that works for real life.
Stick with it, experiment with what feels best for your hair, and you’ll be surprised how close your at-home results can get to the salon—without the price tag.
FAQ
How long does an at-home blowout last?
A well-done blowout can last 3–5 days with proper care. Using dry shampoo and overnight protection helps extend its life significantly.
Can I do a blowout without a round brush?
Yes, you can rough-dry and finish with a straightener or paddle brush. It won’t be as voluminous, but it’s still a great, simple blowout option.
Is a blowout bad for your hair?
Not if you use heat protectant and proper technique. Limiting heat exposure and alternating with blowout without heat styles keeps hair healthy.
What’s the best way to get volume that lasts?
Root lift products, proper sectioning, and strong tension at the roots are key. Cooling each section also helps lock in volume.
How can I make my blowout faster?
Rough drying first, using fewer products, and working in clean sections speeds everything up. With practice, a DIY blowout at home can take under 30 minutes.
This post was all about How To Get The Perfect At-Home Blowout.
If you love this post, you may also love: